Monday, December 19, 2016

Merry Christmas and Happy New Year 2017

Hello all my faithful followers.  I just wanted to come on and wish you all a very Merry Christmas and a Happy New Year. 
 
I have been stamping, but am giving them away before I take a photo.  Just seems time gets away from me.  But I thought I would share a card I made a couple of years ago and finally gave it to my boss this past week.  Went to her home last night for a Christmas Party and it was on her entry table.  It made me feel so good and it was not even one of my current cards.  I will do this one again.  The inside was really beautiful also and so easy.
 
 
If you would like to see the original post, you can find it here.
 
May God bless and keep you all.


Saturday, October 29, 2016

Paper Pumkin July 2014 Finished

Good Morning on this beautiful Saturday Morning.  Hope your weekend has started out great.  I have been doing a lot of catching up and just finished my July 2014 Paper Pumpkin.  I would say I am a little behind, wouldn't you?  LOL  Regardless I thought I would share with you what they looked like and hope you enjoy!  More to come later.


Now I am ready!  Come on birthdays.

Have a wonderful weekend.

Friday, October 14, 2016

Paper Pumpkin May 2016

Wanted to share some more of the paper pumpkins that I have had for a while and just got down to working on them this past weekend.  This is the one from May 2016.  Hope you enjoy!


This was a great kit to work from and I love the stamp set that came with it and the card cut outs.

More to come.


Tuesday, October 4, 2016

June 2016 Paper Pumpkin

Happy Tuesday and hope your day has started out great.

I am getting ready to mail my granddaughter's birthday card to Japan and wanted to share it prior to mailing.  This was part of the June Paper Pumpkin and I just revised it to work out for her second birthday. I sure do miss my hugs from this little soon to be 2 year old.


This is a picture of Ansley in June right before they left for Japan.  We had family pictures taken and she did not want any part of it. Never did get a picture of her by herself without crying. LOL


She did pretty good when with the rest of her siblings and cousins.  All my grandchildren.  Michael on the left and the 2 center ones are the ones in Japan.  :( 


Thanks for stopping by and enjoy your day.


Saturday, October 1, 2016

Happy Birthday Clean & Simple

Happy Saturday and Yes, I have come back to show you what started out as a clean & Simple Masculine Birthday Card for my brother-in-law turned into 3 clean and simple birthday cards.  I fingured while I had my things out might as well make the most of it.  Also I had pulled out my designer papers to look for some masculine colors and it was all there together.  This is a good way to get rid of those little pieces of paper.  OK, now I am rambling so on with the photos.

So here are the 3 cards I made using the Balloon bouquet Punch and also the Balloon Celebration stamp set by stampin up.  Don't sell Stampin' Up! any longer but do love their stamps and punches.  These were so quick and easy that I had to make 3.  The center one is the masculine one.  I guess they could all be for a boy or girl.


Separate Photos of each of them.


Thanks for stopping by and enjoy your weekend.  I plan too! 

Saturday, September 24, 2016

Thank You Card: Clean & Simple

Happy Saturday!  Hope everyone is having a wonderful day.  I have done some cleaning today and thought I would share this card with you.  It was so easy to make and took only about 45 minutes to make 24 cards.  My daughter and I gave my husband a 60th birthday party last Saturday and so Russ (my husband) wanted me to make him some thank you cards.  It had to be quick and simple, so I just pulled out my favorite stamp set "Wetlands" by Stampin Up and went to work.  

Directions: I cut out all of the paper first. (all measurements are in inches)
  • Main part of the card cut 5 1/2 X 4 1/4 (black card stock 8 1/2 X 11 piece) 
  • White Card stock piece cut at 5 1/4 X 4  
  • Added washi tape on all the white pieces near bottom - love washi tape 
  •  Stamped the Thank You on all the white pieces 
  • Stamped the birds on all the white pieces
  • Glued the white to the black Base 
  • Typed a sentiment from Russ (4 to a sheet) and glued on the inside.  
Easy, P easy.


Now to show you his invite that I made using My Digital Studio.  Yes, I am still using my digital studio.  Need to transfer it over, but have not taken the time to do that yet.  

Don't do what I did, after mailing them all out, realized I forgot to put our address on them so people knew where to come for the party.  It was ok for most, but the ones from his school were calling for the address.  LOL  We had 52 people to come.  Sure was glad it was out by the pool.


And then here is another one I did for the party.


Some of our decorations!  We had pictures of him everywhere.


Even above the candy buffet.  I was looking for frames everywhere to reuse.


His cute birthday cake which the top layer was whapsided.  Of course that isn't a word, but the best way I could describe it. 


And then a picture of us at the end of the party.  It was all outside and started out beautiful and then got muggy, so our hair was not the best and we were tired, but happy.


Thanks for stopping by and hope you enjoyed the party.  I know my husband did.

Have a great rest of today and a wonderful Sunday.


Saturday, August 27, 2016

Stamping Again

Can you believe it?  I am posting.  It has really been a crazy summer for us.  My youngest daughter and her family have moved to Japan for 3 years and so my summer was spent preparing for that and then riding cross country with them and my husband to say goodbye in Seattle and then fly back home.  Emotions galore on that last day of travel.  I already miss them terribly, but with today's technology, I talk to them almost every day.  FaceTime is a blessing to keep the little ones recognizing us.  I do miss those sweet little hugs and kisses, but next summer we plan on visiting and that is exciting.

Now on with what this is suppose to be about.  My husband gave me this wonderful crafting unit for Christmas and I have only used it a couple of times.  So last night I was kind of by myself and boy did I have a blast.  Here is my crafting space now.


Now to show you what I created last night.  I used one of my Paper Pumpkin Kits from Stampin' Up and I loved it.  I think this was the August Kit.  I also finally cancelled my order for a time because I still have about 10 I have not touched.  But I would say if there are anymore out there to purchase, I would purchase this one.  So without futher ado, here is my photos.  Please forgive the quality as I took them last night when I finished right on my table and the light was not the best in the room.

Everything you see below was in the kit.  3 cards & envelopes, 3 note cards and envelopes, 3 gift card holders.  What a great deal for $20.  I am not trying to sell it, I just thought it was great.


Love these little gift card holders.


I used one of the stamps in the pack to stamp this envelope where the address should go.  Isn't that great and gives a great feel to the envelope and the person receiving it.


Thanks for stopping by and hope it doesn't take me another 3 months to show you some great stamping.  Now I am bragging on myself. LOL


Friday, May 6, 2016

April 2016 Paper Pumpkin

Hello all, surprise, surprise.  I have just been so busy and still am, but did take time to make the April 2016 Paper Pumpkin kit for my mom for mother's day.  Actually it just included the wreath part and the tags, and I made the card to match with one of the tags and the left over leaves that were with the kit.  Hopefully once I get through with this summer I will have a little more time to create. 

My daughter and son-in-law are leaving for Okinawa, Japan in July with my grandkids (only 3 of them) and I am trying to spend as much time with them as possible between now and then.  So unsure if I will be creating a lot or not in the next few months.  Need prayer for this my sweet friends.

Now Enjoy!

Wreath from Kit!


 Card I made with left over pieces from paper pumpkin kit (I saw one like this on Pinterest, here is the link:)


 Together!

Thanks for stopping by today and hope you enjoyed the post.  Miss you all and hope to get a little better at checking on your post again soon.

Friday, March 11, 2016

Watercolor Scriptures

Surprise, Surprise!  I do have something to share with you.  I actually did this a couple of weeks ago and forgot to post.  These cards go into a package (which you will see at the end of the post) and will be part of a raffle for Gateway Landing - A faith based ministry for men with additions.  You can find out more about Gateway Landing here or here.  I still have quite a few more packages to put together for this event we will be having, so hopefully I will be sharing more with you later. 
 
Sorry about the quality of these photos, but I was trying to hurry and am just now checking the quality, so was not able to get better photos.  This is a package of six with different scriptures on them.  Scriptures are from Our Daily Bread Designs scripture series and the other is Stampin Up!  Enjoy!


Thanks for stopping by!

Saturday, January 23, 2016

B.Y.O.P. Gift Card Holder

Hi everyone!  Surprise, Surprise, I am posting.  It seems that work just keeps me so busy that when I get home I don't want to look at a computer.  But, I had to share this cute little gift card with you and share a tutorial of how it is made.  It actually started with this gift card I got for my birthday from a friend and she had bought the gift card holder from one of her stamping buddies.  So it is not my design, but I tour it apart to see how it was made and could not believe it was an envelope.  The name stamped on the back of the gift card holder was "Shell Ann," so thank you Shell Ann for this idea.  Now on with how to make it.
 
 
OK, yes it starts with a regular card size envelope - 5 3/4 X 4 3/8 size.
 
 
You will cut one side of the top of the envelope off, cut a little more than the half, maybe 1/8" to the left of the half.  It will look a little like the photo below.

 
Now you can see where the gift card will go.

 
A little better picture of the cut to the envelope top and how much past the center it should be.

 
Now to get ready to add the items for the front, back and inside.  Just in case you cannot read the measurements from the photo, you will cut 3 pieces of plain paper (whatever color you desire) 4 1/4 X 2 3/4.  Cut 3 pieces of Designer Paper at 4 X 2 1/2.

 
Adhere the Designer Paper to the plain card stock.

 
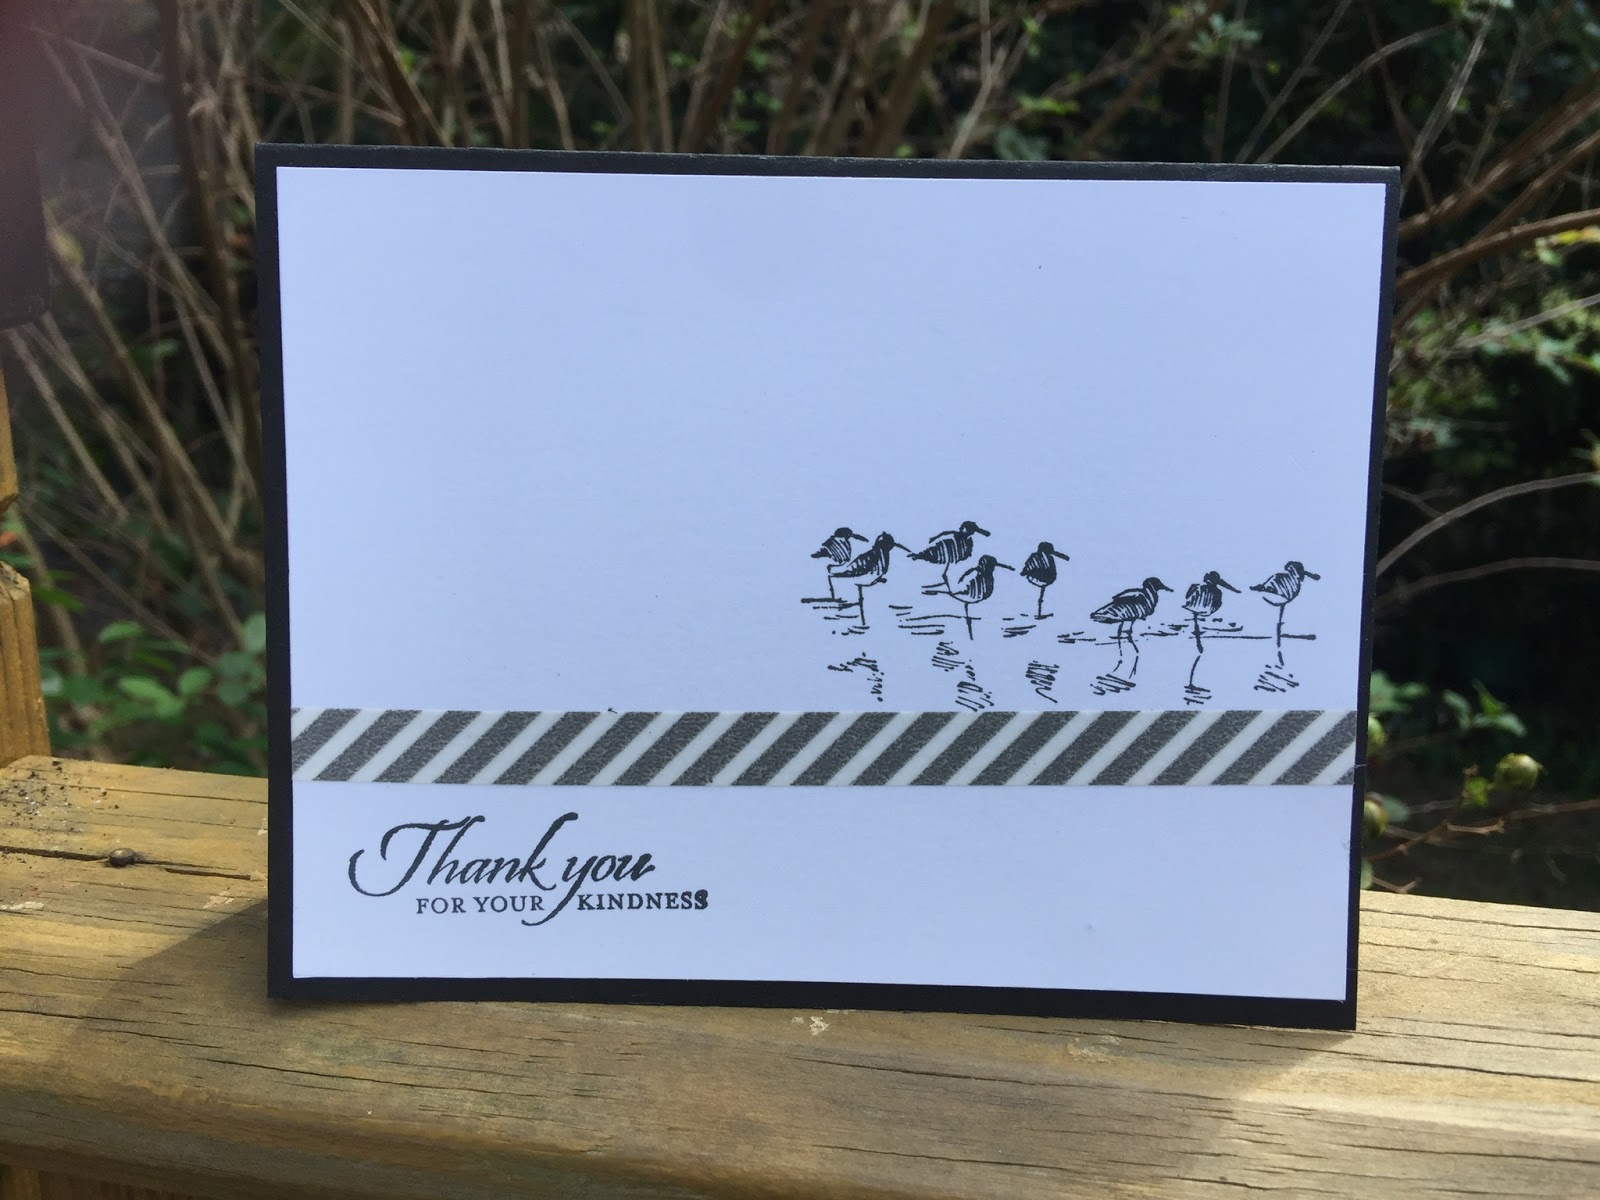
Now you can use whatever stamp you would like to put on the front and on the inside.  I used the stamps from the stamp set called B.Y.O.P from SU.  I also used a framelit from SU to cut it out.  Use whatever you would like to cut it out.  Mine was a little different from the gift card holder I received but I chose ones that fit the words.

 
Adhere everything to the gift card holder.  As you can see I did the inside first.

 
I attached the ribbon with adhesive to the back of the front of the gift card holder has you see below.

 
Adhere the back and the front as you see in the photos below, tie it shut and you are done.


Here it is open. 

 
Thanks for stopping by and hope you like the tutorial.