
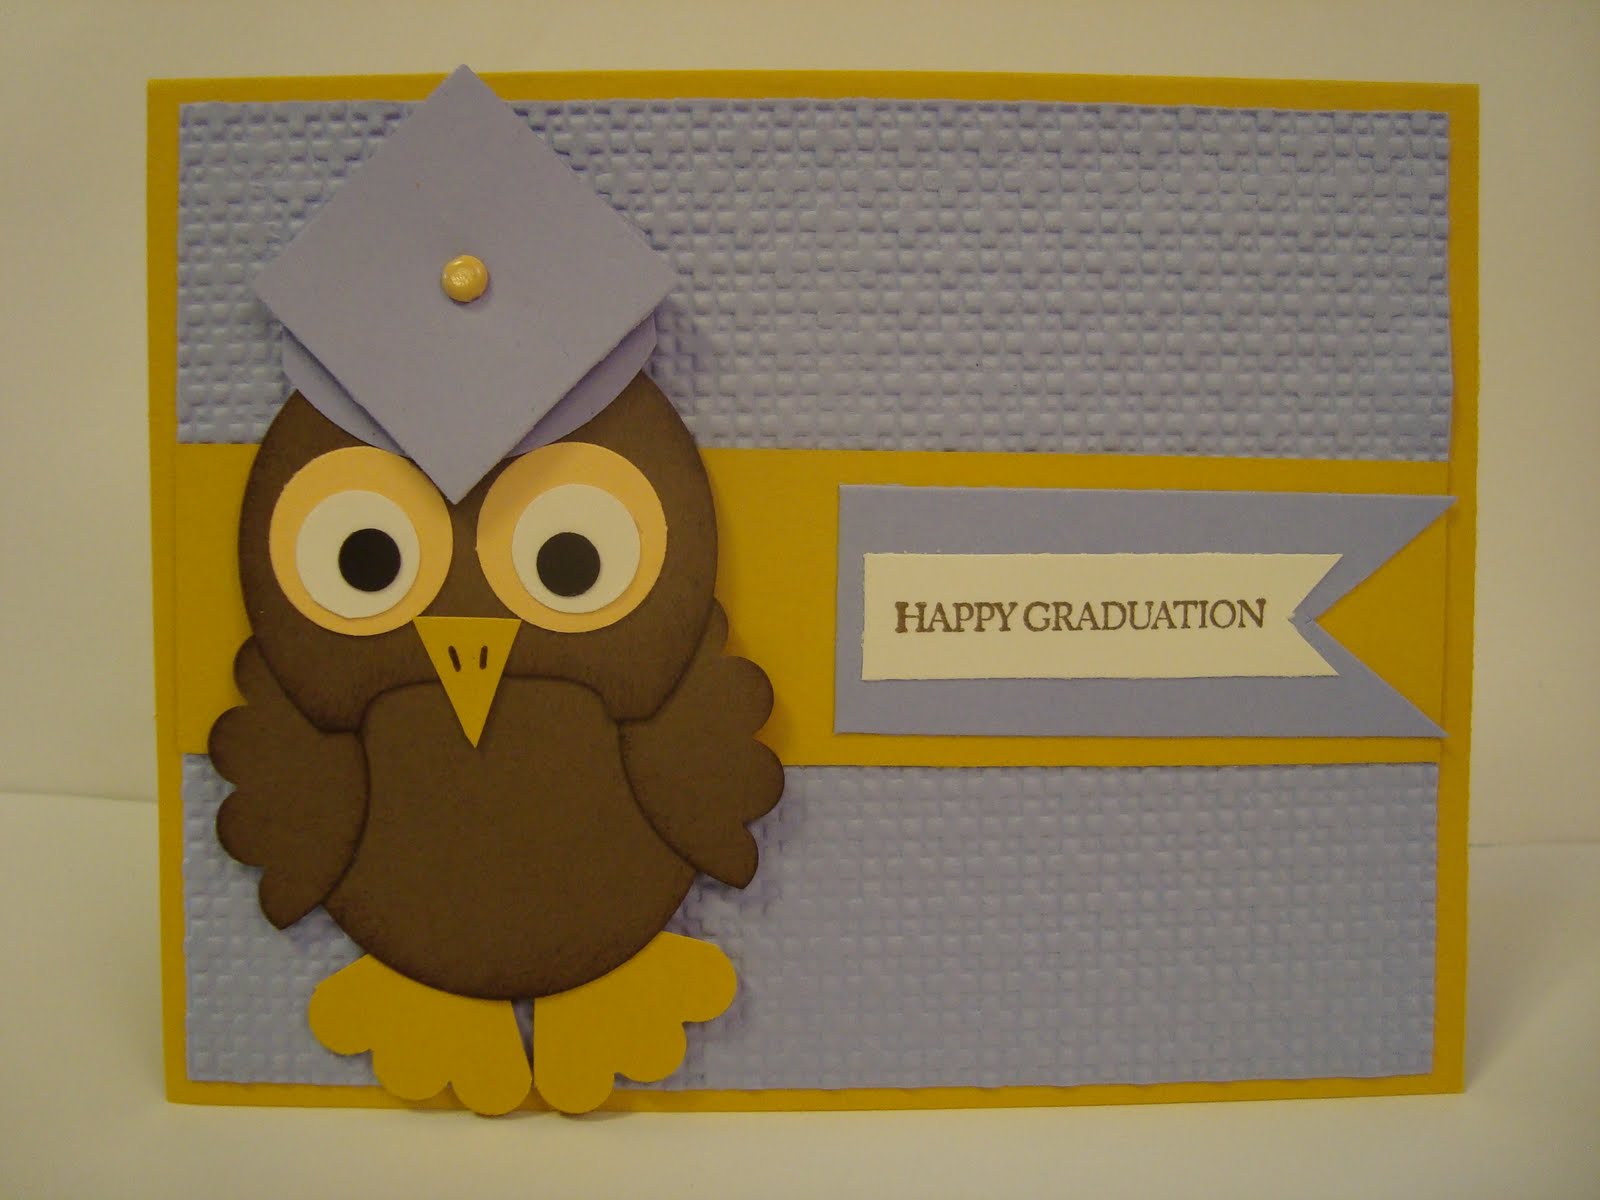
This was so easy and so much fun to do! I just love doing the punch art and this was no exception. I tried to use colors that would be closest to the school colors, so that was probably the hardes part of the whole card. To make the owl, you use the following punches:
Head: Round Tab Punch
Body: 1-3/4" round punch
Wings: 1-3/8" round punch and then use the round scallop punch and punch each side of the circle put half way in. Hard to explain, but you actually keep the outside round as you see above.
Feet: round scallop punch and cut out on the 3rd scallop.
Eyes: 3/4", 1/2", 1/4" round punches
For the hat, which was the hardest part for me, I just cut a 1" square, punched a 1-3/4" round circle and squared it on the sides.
I have seen a lot of these owls out there and all made a little different. Just experiment, you may find something you like better than what I used.
Hope you can understand what I mean, but maybe seeing the owl and then using what I have given you above, you will be able to put the owl together.
For the background embossing, I used the new embossing folder called square lattice in the summer mini. I really do like this new embossing folder, but then again, I like them all.
Stamp set used is Teeny Tiny Wishes, cardstock is almost amethyst and crushed curry.
Thanks for looking and please leave a comment!
1 comment:
That is so cute!! I wish I had a round tab punch!! I'll have to see if we carry it in our lss store where I work. I don't remember seeing one. This looks so fun to make!!
Post a Comment